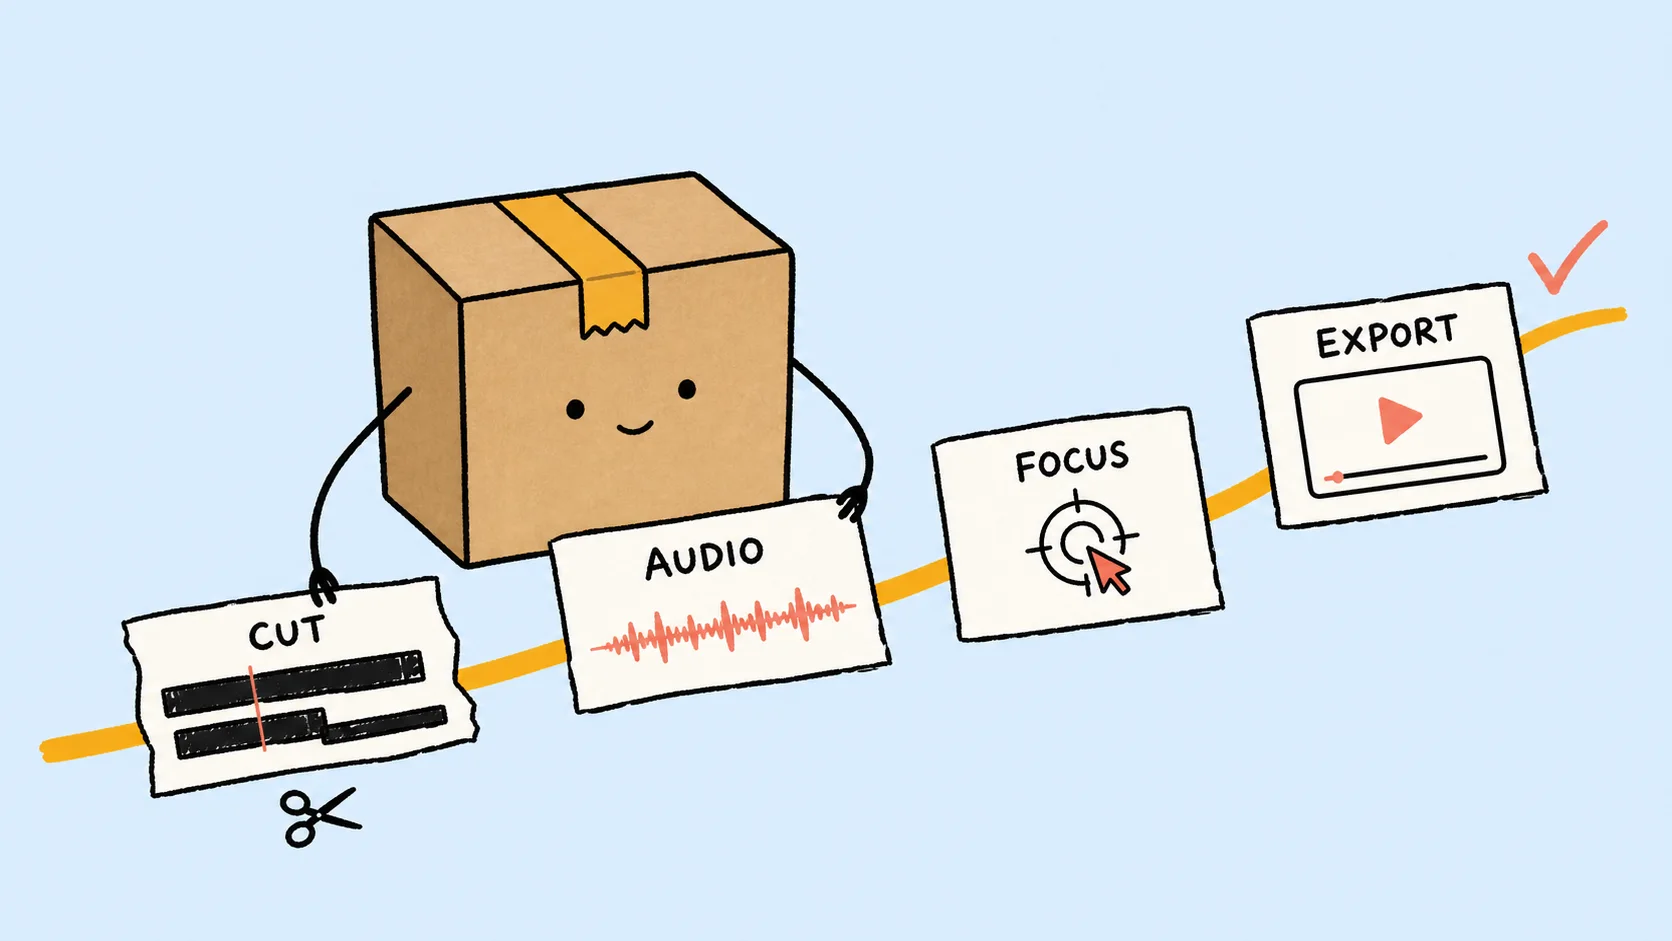
How to Edit a Screen Recording on Mac (Best Order)
Edit a Mac screen recording in the right order: cut mistakes, fix audio and pacing, reframe the canvas, guide attention, add captions, and export.
Most rework when editing a Mac screen recording does not come from one bad cut. It starts when captions, zooms, or webcam layouts are added before the timeline is stable. Remove a few seconds later and every time-based element needs another review. This guide orders the work by dependency so each decision is made as close to once as possible.
Which Mac editor do you actually need?
Choose the smallest tool that can finish the job:
| If the recording needs... | Use... | Why |
|---|---|---|
| Only a shorter beginning or end | QuickTime Player | It can trim without opening a full editing project. |
| A mistake removed from the middle | QuickTime Player or iMovie | QuickTime can split a movie into clips; iMovie gives you a more familiar timeline. |
| Cropping, reframing, titles, or several clips | iMovie | It handles conventional video editing without requiring a specialist screen-recording workflow. |
| Focused close-ups for small UI, cursor replacement for a consistent pointer style, captions, or screen-and-camera layouts | A screen-recording editor such as ScreenSage Pro | It keeps these attention-guiding choices editable instead of baking them into a flat video. |
Apple documents both trimming a movie in QuickTime Player and splitting a movie into clips. If that solves the whole problem, stop there. Moving a ten-second trim into a complex project only creates more setup.
Why does the editing order matter?
A screen recording is not just a video layer. It may also contain narration, system audio, cursor data, zoom ranges, webcam layouts, captions, masks, and callouts. Some edits change the timeline itself; others sit on top of that timeline.
Think of the dependencies this way:
- Cuts and speed changes decide when everything happens.
- Audio and pacing decide whether those cuts feel natural.
- Canvas and framing decide what the viewer can see.
- Zoom, cursor, and captions explain what the viewer should notice.
- Export settings package the approved result.
Reversing that order creates timeline debt. Delete three seconds near the beginning after adding captions, and every later caption may need another timing check. Change from 16:9 to 9:16 after placing a webcam and callouts, and the composition may need to be rebuilt.
Step 1: define the finished video before cutting
Write down three things before touching the timeline:
- Viewer: Who needs to understand this recording?
- Outcome: What should they be able to do or believe afterward?
- Destination: Will they watch in a 16:9 player, a vertical feed, a help center, or a small chat window?
The destination changes what counts as a good edit. A desktop tutorial can leave more interface visible. A vertical clip usually needs a narrower story, larger text, and more aggressive reframing. A support answer should reach the fix quickly; a product demo may need a short problem-and-result setup.
Keep the original recording untouched or save a project copy. Editing should make choices reversible, especially before you know which parts will survive the rough cut.
Step 2: make the rough cut
Start by deleting material that does not help the outcome:
- Setup before the first useful action.
- False starts, repeated takes, and wrong clicks.
- Loading time that proves nothing.
- Searches for a menu or file.
- The long pause after the result is already clear.
Do not polish each cut yet. First build one complete, understandable pass from beginning to end. In ScreenSage Pro, you can trim clip edges or split at the playhead and keep or delete either side. The waveform helps when a cut must land around a spoken word.
Leave a brief hold after an important result. Cutting every gap can make the video shorter while making it harder to understand.
Step 3: repair audio, then tighten pacing
Listen once without watching. This exposes problems that visual motion can hide:
- Narration that is too quiet or inconsistent.
- System audio that overwhelms the microphone.
- A missing audio source.
- Abrupt cuts in the middle of a breath or word.
- Long pauses that make the explanation feel stalled.
If the recording has no sound, determine whether the missing source is the microphone, system audio, or both before editing around it. The Mac screen-recording audio guide separates those failure modes and explains what can still be recovered.
For narrated recordings, silence detection can speed up the first pass, but it still needs review. ScreenSage Pro's Smart Clipping lets you tune what counts as silence, how long a pause must be, and how much breathing room remains.
The goal is compact, natural speech—not maximum deletion. The deeper workflow is covered in how to remove silent parts from a screen recording.
Step 4: set the aspect ratio and reframe the screen
Choose the canvas before placing explanatory elements. Common starting points are:
- 16:9 for YouTube, courses, presentations, and most embedded product videos.
- 9:16 for vertical social video.
- 1:1 for square feeds or compact embeds.
- Original when preserving the exact captured dimensions matters more than fitting a platform preset.
Changing the canvas is not the same as making the UI readable. After choosing the ratio, check the smallest text, the cursor, and the result state. Reposition or crop the screen so the action stays inside the safe area.
For a horizontal recording turned vertical, do not try to show the entire desktop at once. Follow one task region at a time or make a separate vertical edit.
The destination also changes what deserves to stay. A software tutorial usually preserves setup and every required step; a product demo can remove setup and edge cases to keep one proof sequence moving.
Step 5: guide attention with the cursor and zoom
Now decide where the viewer is likely to get lost. Add guidance only at those moments:
- A restrained zoom for a small button, menu, or typed value.
- A larger, high-contrast cursor when the pointer is hard to see.
- Cursor smoothing when raw movement jitters or changes shape too often.
- Click feedback when the action is visually subtle.
- A timed mask or blur when private information should not be readable; play the full range again if the page scrolls or the window moves.
Do not stack every cue on the same click. If the camera zooms, the cursor pulses, a caption animates, and a callout enters together, the viewer has four competing instructions. The guide to auto zoom and cursor highlighting explains how to divide those jobs.
Step 6: add captions after timing is stable
Generate captions after the rough cut and audio pass. Correct product names, commands, numbers, and interface labels, then check that each caption arrives with the visible action and does not cover it.
Use captions in the video when they are part of the composition or the destination may play silently. Keep an SRT or VTT file when the platform supports selectable subtitles, accessibility controls, multiple languages, or later text corrections.
The full process is in how to add automatic captions to a screen recording. The key rule is simple: transcription can be automatic; final wording, timing, and placement cannot be assumed correct.
Step 7: export and watch the real file
For most tutorials and product demos, MP4 is the safest default. Match the export canvas to the destination and use enough quality to preserve thin UI text. Dense interfaces become unreadable quickly when a large desktop capture is compressed into a small frame.
Before publishing, watch the exported file rather than relying only on the editor preview. Check:
- The first useful action begins quickly.
- No cut removes the start or end of a word.
- Narration and system audio remain balanced.
- Every important label is readable at the actual player size.
- Zooms land before the viewer needs the detail.
- Captions do not cover buttons, results, or notifications.
- The cursor is visible but not distracting.
- The final frame remains long enough to confirm the outcome.
Headphones reveal audio cuts; a small player reveals framing and text problems. Test both.
A repeatable Mac screen-recording edit checklist
Use this order whenever the project starts to feel complicated:
- Define the viewer, outcome, and destination.
- Preserve the raw recording.
- Remove mistakes, repetition, and useless waiting.
- Fix missing, uneven, or competing audio.
- Tighten pauses without flattening the speaking rhythm.
- Set the canvas and reframe the screen.
- Add only the zooms and cursor cues needed for comprehension.
- Generate and review captions.
- Export, then watch the delivered file at real size.
ScreenSage Pro keeps video, audio, zoom, captions, layouts, masks, keystrokes, and other explanatory layers in one editable timeline. If your recording needs more than a basic QuickTime trim, download ScreenSage Pro and use the workflow above on a copy of your footage.
FAQ
Can I edit a screen recording in QuickTime Player?
Yes. QuickTime Player can trim the beginning or end and split a movie into clips. It is a good choice when the edit is small. Use a timeline editor when you need several cuts, reframing, audio work, captions, or visual guidance.
How do I cut a mistake from the middle of a Mac screen recording?
Split immediately before and after the mistake, remove the unwanted section, then review the join for audio continuity. Keep a short pause if removing the whole gap makes the speech or action feel abrupt.
How do I crop a screen recording on Mac?
Choose the final aspect ratio first, then crop or reposition the recording inside that canvas. Apple documents cropping in iMovie on Mac; screen-recording editors can also keep reframing, zooms, and overlays editable together.
Should I edit the audio before or after cutting the video?
Make the rough cut first, then repair levels and pacing. Detailed mixing done before structural cuts often has to be repeated, while cutting without listening can remove syllables or create abrupt transitions.
What format should I export a Mac screen recording in?
MP4 is the most practical default for web, chat, tutorials, and product demos. MOV can be useful when another editing app expects it. In either case, preserve enough resolution and quality for UI text to remain readable.
Can I add zooms and cursor effects after recording?
Yes, if the editor preserves the required recording or pointer data. In ScreenSage Pro, zoom ranges, cursor style and size, click feedback, and smoothing remain adjustable after capture.
How can I make a screen recording look more professional?
Prioritize clarity over effects: remove dead time, balance audio, frame the relevant UI, keep cursor movement calm, guide attention at ambiguous moments, and check the export at its actual viewing size.
Auto zoom, cursor smoothing, text cursor follow, and fast export for Mac demos and tutorials.
Download ScreenSage Pro