How to Automatically Remove Silent Parts From Talking-Head and Screen Recordings
Tired of finding pauses by hand after recording? Learn when to remove silent parts, how to tune silence removal, and how to keep narrated videos natural.
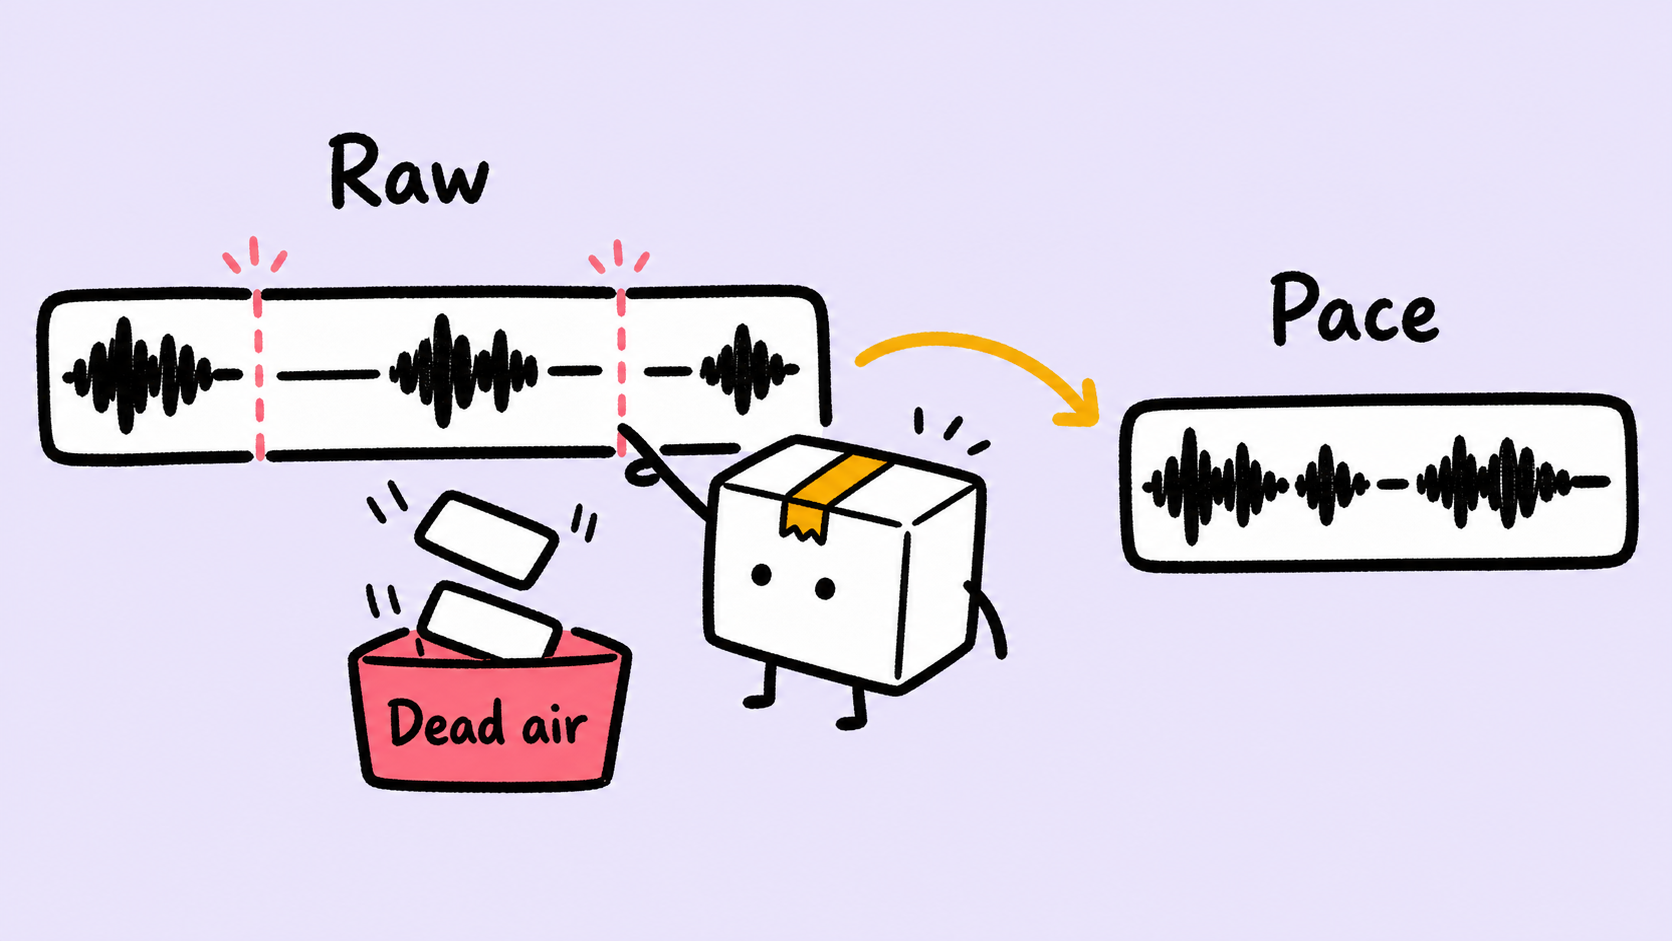
After recording a talking-head video or screen tutorial, the annoying part is often finding every pause, blank gap, and stretch of dead air by hand. Good silence removal is not about cutting the most. It is about removing dead air while keeping enough breathing room for viewers to understand what changed on screen.
ScreenSage Pro's Smart Clipping detects silent segments in video or audio, lets you choose Speech or Music presets, and gives you controls for silence threshold, minimum duration, and keep duration. The best use is as a rough-cut pass: remove obvious dead air first, then review the timeline and polish only the moments that affect comprehension.
What does silence removal mean in a screen recorder?
Silence removal means the editor analyzes your audio track, finds stretches where nobody is speaking, and shortens or removes those gaps. It is useful for narrated product demos, tutorials, course recordings, interviews, and support videos.
Screen recordings have a special pacing problem. A pause may be useless dead air, or it may be the exact moment when a menu opens, a build finishes, a setting changes, or a viewer needs time to read the UI. Cutting every quiet moment can make a demo shorter but harder to follow.
Good silence removal is not about making the shortest possible video. It is about removing waiting time while preserving understanding time.
When should you remove silence from a product demo?
Remove silence when it does not carry information. That usually includes thinking pauses, repeated attempts, waiting for a page to load, searching for a menu item, or moving the mouse before the next real step.
Good use cases:
- SaaS product demos where repeated pauses make the flow feel slow.
- Coding tutorials where long thinking gaps interrupt the lesson.
- Customer support walkthroughs where viewers need a direct path to the answer.
- Course recordings with long narration pauses.
- Interviews or podcasts that need a fast first pass before detailed editing.
Be careful when silence is paired with important visual information. If the screen is changing, the viewer may need that quiet moment.
The practical workflow
The reliable workflow is simple: record naturally, use automatic silence removal as the first pass, then review and correct the few edits that matter.
- Record the full workflow naturally.
- Open Smart Clipping and start with the
Speechpreset for narrated content. - Review the detected silent segments, estimated time saved, and start/end times.
- Tune silence threshold, minimum duration, and keep duration.
- Apply the result to the timeline.
- Play the edited section back once.
- Manually fix cuts that remove useful pauses, leave dead air, or make the pacing feel too rushed.
- Add auto zoom, text cursor tracking, captions, or manual trims where they help the viewer follow the action.
- Review the export at the size your audience will actually watch.
Automatic clipping handles repetitive work. You still make the pacing decisions.
How to tune the three key settings
ScreenSage Pro's Smart Clipping gives you three important controls: Silence Threshold, Minimum Duration, and Keep Duration.
Silence Threshold: what counts as silence?
Silence threshold controls how strict detection should be. The default is around -30.0 dB. If background hum, keyboard noise, or room noise keeps being treated as content, make the threshold stricter. If soft speech or the ends of words are getting cut, make it more forgiving.
Do not optimize the number in isolation. Listen to the result.
Minimum Duration: how long does a pause need to be?
Minimum duration decides whether short pauses should be ignored. A default around 0.5s works well for many voice-led tutorials because tiny breathing pauses stay intact while longer gaps are processed.
For fast social clips you may go shorter. For complex UI demos, avoid aggressive settings because viewers may need a moment to understand what changed.
Keep Duration: how much silence should remain?
Keep duration controls how much gap remains after trimming. A starting point around 0.10s keeps speech tight without making it feel chopped. Setting it to zero can make narration sound rushed and can make UI changes feel abrupt.
For product demos, 0.10s-0.20s is often a better target than total removal.
When automatic silence removal can hurt
Automatic tools can mistake "no sound" for "no information." In screen recordings, many important moments are quiet: a modal appears, a compile finishes, a table refreshes, a setting changes, or a cursor lands in the right text field.
Check three areas carefully:
- Before and after visible state changes.
- Around text entry, terminal output, and code edits.
- On dense settings pages, dashboards, and tables.
If a quiet section carries visual information, do not remove it completely. Shorten it, speed it up, add zoom, or use captions instead.
Recommended ScreenSage Pro workflow
In ScreenSage Pro, Smart Clipping works best as part of a broader editing flow:
- Use Smart Clipping to remove long pauses and dead air.
- Use Quick Trim shortcuts for obvious starts, ends, and mistakes.
- Use Blade Mode to split sections quickly.
- Use speed controls to compress waiting time without deleting visual context.
- Use auto zoom and text cursor tracking for key clicks, input fields, and coding moments.
- Use captions or short text descriptions when narration alone is not enough.
- Review the final export at real viewing size so UI text and pacing still work.
A product demo screen recorder should not only capture pixels. It should reduce the number of editing decisions you have to make after recording.
If your next step is helping viewers follow clicks and typing, read ScreenSage's guide to choosing a screen recorder with auto zoom. When you are ready to try the workflow, start from the ScreenSage Pro download page.
FAQ
Will automatic silence removal make my demo sound unnatural?
It can if you remove every gap. Keep a small amount of silence after each cut, then review the timeline. For product demos, a tiny pause often helps viewers understand screen changes.
Is silence removal useful for coding tutorials?
Yes, but treat it carefully. Coding tutorials often rely on text cursor position, terminal output, and file switching. Use silence removal for long pauses, then use text cursor tracking, auto zoom, and captions for clarity.
Is automatic clipping better than manual editing?
Automatic clipping is better for repetitive detection work. Manual editing is better for judgment. Use automation for the rough cut, then manually fix the few places where pacing and context matter.
What recordings benefit most from silence removal?
Narrated tutorials, product walkthroughs, course videos, customer support videos, and long interviews benefit most. Any recording with repeated thinking pauses or waiting time is a good candidate.
Conclusion
The point of silence removal is not to make your screen recording as short as possible. It is to move the viewer from one useful moment to the next without losing context.
ScreenSage Pro's Smart Clipping gives you a faster first pass for narrated recordings. Combine it with timeline trims, speed controls, auto zoom, text cursor tracking, captions, and final export review, and you can spend less time cutting dead air and more time making the demo easier to understand.
Try ScreenSage Pro to remove long pauses from your screen recordings first, then polish only the product demo moments that actually need human judgment.
Auto zoom, cursor smoothing, text cursor follow, and fast export for Mac demos and tutorials.
Download ScreenSage Pro