
Screen Recorder With Auto Zoom: 6 Features That Actually Matter
Looking for a screen recorder with auto zoom? Learn what automatic zoom should do, which features matter, and how to make product demos easier to follow.
A good screen recorder with auto zoom should detect important actions automatically, add smooth zooms around clicks or cursor movement, keep the cursor readable, and let you edit zoom segments after recording. For Mac product demos, ScreenSage Pro supports auto zoom, editable zoom ranges, cursor smoothing, cursor styling, and text cursor follow for coding or typing-heavy tutorials.
What is an auto zoom screen recorder?
An auto zoom screen recorder records your screen and automatically creates close-up moments around important actions. In most tools, those actions are clicks, cursor movement, text input, or selected UI areas.
The value is simple: viewers should not have to hunt for the cursor or squint at tiny interface text. Auto zoom turns a raw capture into a guided walkthrough.
This category is now competitive. Screen Studio, Cursorful, AutoZoom, 1001 Record, Screen Charm, Zumie, and Rapidemo all position around automatic zoom, cursor tracking, smooth cursor motion, or polished product demos. That is a strong signal that creators are not only searching for recording. They are searching for attention direction.
Why auto zoom matters for product demos
Product demos usually fail for one of three reasons:
- The viewer cannot read the interface.
- The viewer loses track of the cursor.
- The recording shows every action, but not the reason the action matters.
Auto zoom helps with the first two. It turns important clicks and UI changes into visual beats. Instead of forcing the viewer to scan the whole screen, the video gently narrows attention to the active area.
For SaaS walkthroughs, onboarding clips, and launch videos, this can make the same recording feel more deliberate. You still need a clear script and a clean workflow, but auto zoom reduces the amount of manual editing needed to make the video watchable.
The 6 features that matter most
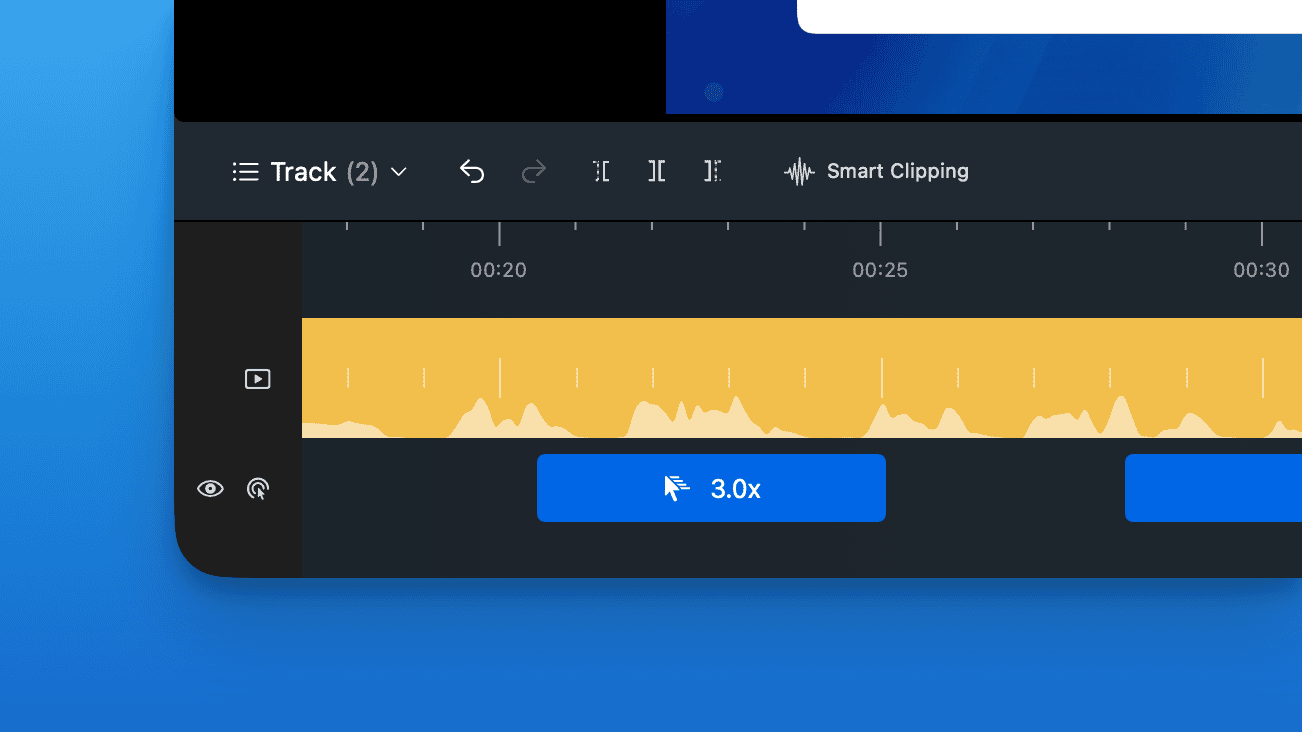
1. Editable zoom segments
Automatic zoom is only useful if you can fix it. A tool may guess the wrong moment, zoom too far, stay zoomed for too long, or miss a context switch.
ScreenSage Pro treats zooms as timeline segments. You can review, adjust, and remove zoom ranges after recording, which matters because a product demo is rarely perfect on the first pass.
2. Cursor-following zoom
Cursor-following zoom is the basic auto zoom behavior most people expect. The camera follows the pointer or the area around the pointer so the viewer sees the action.
ScreenSage Pro can auto-focus around mouse movement and clicks, which is useful for product tours, settings walkthroughs, and workflows where each click matters.
3. Smooth cursor motion
Raw cursor movement often feels shaky in a final video. A dedicated tutorial recorder should smooth small hand movements so the cursor looks intentional without hiding the real workflow.
This pairs naturally with auto zoom: the viewer sees where the cursor goes, but not every tiny correction your hand made while recording.
4. Cursor style and size control
Auto zoom does not replace cursor visibility. If the pointer is too small, the viewer misses it. If it is oversized, it covers UI text and feels distracting.
Look for cursor size, style, stabilization, and click feedback controls. These details decide whether the viewer can follow the action comfortably.
5. Text cursor tracking
For coding tutorials, the mouse pointer is often not the real focus. The important action is where code is being typed.
Text cursor follow keeps the frame close to the insertion point during typing, making it useful for code editing, document writing, terminal commands, and form-heavy workflows.
6. Manual override
Automatic decisions should never trap you. The best workflow is automatic first, editable second. You want the recorder to generate useful zooms, but you also want manual controls for fixed areas, timing, duration, and zoom strength.
This is especially important for dense dashboards, IDEs, spreadsheets, and product settings screens where the important area is not always under the cursor.
Auto zoom vs manual zoom editing
Manual zoom editing gives you control, but it costs time. Auto zoom saves time, but it can make bad guesses. The right answer is not one or the other.
Use auto zoom to create a strong first pass. Then review the timeline and make small edits:
- Delete zooms that do not clarify anything.
- Extend zooms when the viewer needs more reading time.
- Reduce zoom intensity when the frame feels jumpy.
- Switch to a fixed area when the cursor is not the focus.
- Use text cursor follow for typing sequences.
This hybrid workflow is the practical middle ground. It keeps production fast without making the final video feel automated.
When auto zoom helps and when it hurts
Auto zoom helps when:
- The interface has small controls.
- The viewer needs to follow a click path.
- The recording includes menus, settings, or dense UI.
- You are creating product demos, launch videos, onboarding clips, or tutorials.
- The final video will be watched in a small player.
Auto zoom hurts when:
- The viewer needs to understand the whole layout.
- The zoom changes too often.
- The recording is already tightly framed.
- The cursor is moving while the important content is elsewhere.
- Motion becomes more memorable than the product.
The principle is simple: zoom to clarify, not to decorate.
Recommended ScreenSage Pro workflow
For a polished product demo on Mac:
- Record the workflow naturally in ScreenSage Pro.
- Enable auto zoom for click-heavy sections.
- Review the generated zoom ranges on the timeline.
- Remove unnecessary zooms.
- Fine-tune timing and focus areas where the default guess is not ideal.
- Apply cursor smoothing so movement feels clean.
- Adjust cursor size and click feedback for the final viewing size.
- Use text cursor follow for code, terminal, or typing-heavy scenes.
- Export and watch the video at the size your audience will actually see.
This keeps the workflow simple: record first, guide attention second, polish only what matters.
Buyer checklist
When choosing a screen recorder with auto zoom, look for:
- Automatic zoom on clicks and cursor movement.
- Editable zoom timeline segments.
- Manual zoom overrides.
- Smooth cursor motion.
- Cursor size, style, and click feedback controls.
- Text cursor tracking for coding tutorials.
- Export quality that keeps UI text sharp.
- A workflow that lets you record naturally, then polish after.
FAQ
What is the best screen recorder with auto zoom for Mac?
The best choice depends on your workflow, but for product demos and tutorials you should prioritize editable auto zoom, smooth cursor motion, cursor controls, and Mac-native recording quality. ScreenSage Pro is built for Mac product demos and supports auto zoom, cursor smoothing, text cursor follow, and editable zoom ranges.
Is auto zoom better than manually adding zooms?
Auto zoom is faster, but manual editing is more precise. The best workflow combines both: let the recorder generate zooms automatically, then edit the few moments that need better timing or framing.
Does auto zoom work for coding tutorials?
Auto zoom can help with navigation, but coding tutorials also need text cursor tracking. When the viewer needs to follow typing, the text insertion point is often more important than the mouse pointer.
Conclusion
A screen recorder with auto zoom should make your product demo easier to understand, not just more animated. The real value is attention control: zooming into the right moments, keeping the cursor readable, smoothing motion, and letting you fix the timeline after recording.
For ScreenSage Pro, this is a natural category to own. The product already supports auto zoom, editable zoom ranges, cursor effects, and text cursor follow. That gives creators a direct path from raw recording to a polished Mac product demo.
Auto zoom, cursor smoothing, text cursor follow, and fast export for Mac demos and tutorials.
Download ScreenSage Pro