How to Blur Part of a Video on Mac Without Privacy Leaks
Learn how to blur part of a video on Mac, choose the right mask and time range, check moving content, and export safely without exposing private details.
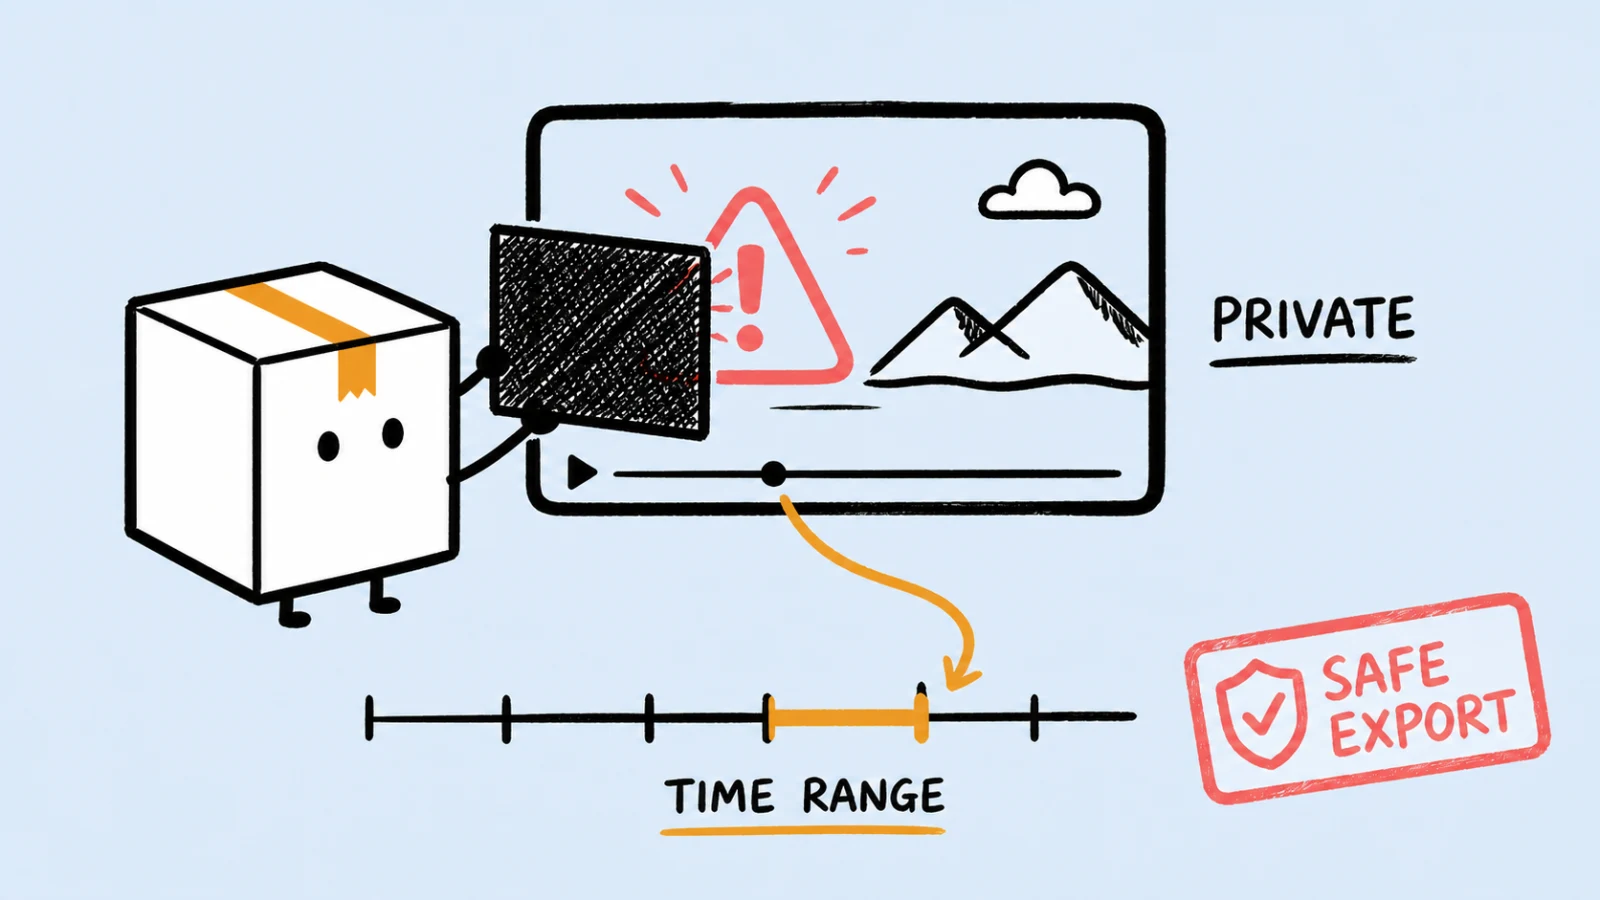
Quick answer: To blur part of a video on Mac, place a blur mask over the sensitive region, limit it to the exact time the information is visible, and replay the full range before export. The rectangle is only half the job: scrolling, window movement, notifications, and cuts can make private information escape a mask that looked correct on one frame.
This guide is for people editing tutorials, product demos, support recordings, and bug reports. It shows how to choose between blur, crop, cover, and re-recording—and how to review the result as a privacy control rather than a cosmetic effect.
In this guide
- What should you blur?
- Blur, crop, cover, or re-record?
- How to blur part of a video on Mac
- How to check moving content
- Privacy checklist before export
What should you blur in a video?
Blur information when it identifies a person, grants access, reveals a private conversation, or exposes something the viewer does not need. Common examples include email addresses, customer names, account IDs, API keys, billing details, private messages, internal URLs, and notification previews.
That list is a starting point, not a complete rule. The National Institute of Standards and Technology recommends a risk-based approach to protecting personally identifiable information. Apply the same idea to a recording: ask what the visible detail could reveal, who will receive the video, and what happens if the file is forwarded beyond its original audience.
Use this three-part exposure map before adding any effect:
- What is sensitive? Name the exact field, message, person, or credential.
- Where does it appear? Mark every screen region where it becomes visible.
- When is it readable? Find the first frame of exposure and the first frame after it disappears.
This converts “blur that email” into a testable requirement: cover this region from this frame to that frame.
Should you blur, crop, cover, or re-record?
Use blur when the surrounding interface matters but one local detail must become unreadable. Choose another method when it removes more risk with less review work.
| Method | Best when | Main trade-off |
|---|---|---|
| Blur | The viewer needs the surrounding UI and the sensitive target stays in a predictable area | A weak blur can leave shapes or short text guessable; motion needs a full-range check |
| Crop | The private content stays near an edge and the removed area is irrelevant | Cropping can hide useful context or break the intended aspect ratio |
| Opaque cover | Maximum unreadability matters more than seeing the shape beneath | It is visually heavier and still needs correct position and timing |
| Re-record | Secrets move unpredictably, many regions are exposed, or the demo state can be cleaned first | It costs more time now but can eliminate repeated masking and review |
The safest edit is often upstream. Close notifications, use a demo account, replace real customer data, and frame only the required window before recording. Apple lets you control which apps can capture your screen and system audio under Privacy & Security settings, but capture permission does not decide whether the content inside the permitted screen is safe to publish.
How to blur part of a video on Mac
In ScreenSage Pro, blur is a mask effect on a timed range. The mask defines the region; the range on the Mask Track defines when the blur is visible. This separation is useful because privacy is both spatial and temporal.
Step 1: find the complete exposure
Play from a few seconds before the sensitive detail appears until a few seconds after it disappears. Do not stop at the first frame where you notice it.
Look for repeated exposure in dropdowns, browser autofill, search suggestions, tooltips, notifications, page headers, reflections inside a camera layer, and the result screen after a cut. If the same value appears twice, treat those as two ranges unless one continuous mask covers both safely.
Step 2: add a timed range on the Mask Track
Move the playhead to an empty position on the Mask Track and insert a mask segment. Set the segment start to the first exposed frame and its end to the first safe frame after the detail disappears.
Leave a small timing margin when a UI element animates in or out. A mask that arrives one frame late has already failed, even if the rest of the range looks perfect. The Mask Track guide explains how local mask ranges are selected and edited.
Step 3: choose Blur and fit the shape
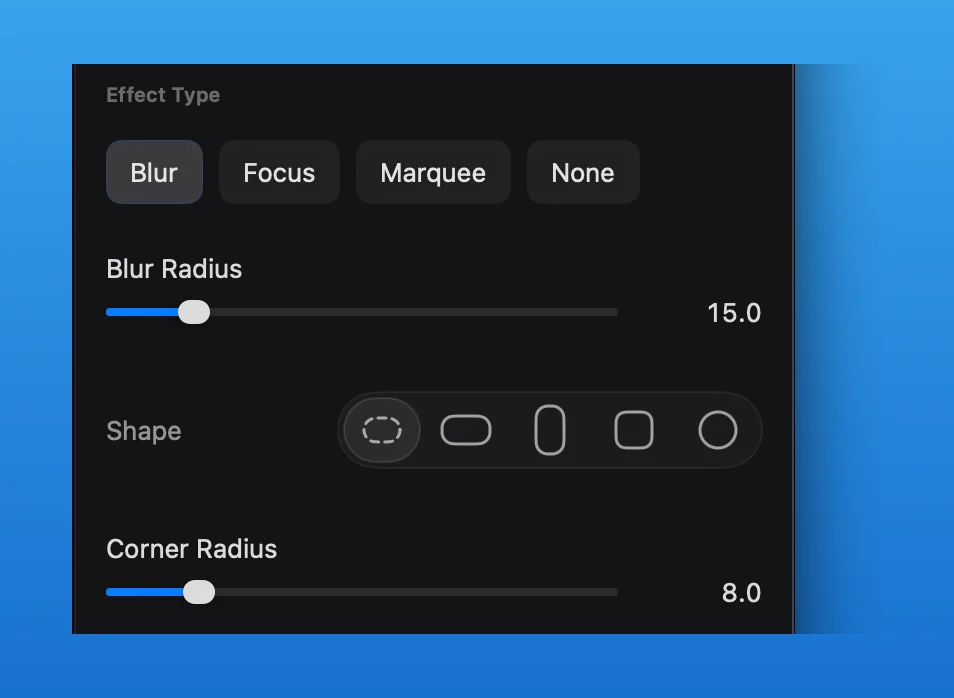
Select the segment, choose Blur in the Mask Inspector, then adjust the shape and position in the preview. ScreenSage Pro supports freeform, rectangle, square, and circle mask areas, so use the smallest shape that covers the entire sensitive region plus a modest safety margin.
Match the shape to the risk, not the object’s visual border. Text can extend beyond a field through shadows, selection states, or adjacent labels. A circular mask may look elegant over an avatar but be a poor choice for a rectangular email address.
Step 4: set blur strength at delivery size
Increase the blur radius until the information is unreadable in the actual viewing conditions. Judge it in a player close to the size viewers will use, not only in a large editor preview. Short strings, large characters, QR codes, and high-contrast keys may need a larger mask or an opaque cover instead of a subtle blur.
Step 5: replay, export, and replay again
First review the range inside the editor at normal speed. Then export the file and review the rendered video. Check the opening and closing frame of every mask, pause on fast transitions, and watch once at the size where the video will actually be published.
This last pass catches differences that a static preview cannot: timing edges, scaling, compression, reframing, and a target that moved between the frames you sampled.
How do you check a blur when the screen moves?
Do not validate a moving screen from one paused frame. Play the complete mask range and track the sensitive target with your eyes from entry to exit.
Use one of these responses when the target leaves the protected area:
- Enlarge the mask when the movement is small and extra coverage does not hide important context.
- Split the exposure into shorter ranges when a scroll or layout change moves the target to a new position.
- Crop the whole region when the moving area is not needed.
- Re-record with clean data when the target moves unpredictably or appears in too many places.
Do not assume that a blur follows an object unless you have explicitly created and verified that motion. A static mask over a scrolling page protects the coordinates, not the email address.
The same dependency rule applies to edits: make structural cuts before the final privacy pass. If you remove or move clips later, recheck every timed mask. The broader Mac screen-recording editing order explains why timeline effects should be reviewed after the rough cut is stable.
What should you check before export?
Use this privacy review on the final file, not just the project preview:
- Watch from at least two seconds before every mask begins until two seconds after it ends.
- Pause on the first and last protected frame.
- Scrub through scrolls, window moves, zooms, scene changes, and layout transitions.
- Check the full canvas, including the menu bar, browser tabs, webcam layer, notifications, and background windows.
- View the export at its real delivery size and once at full size.
- Confirm that no caption, callout, or crop exposes a duplicate copy of the same information.
- Keep the source recording and editable project private; the exported blur does not sanitize those files.
For API keys, passwords, tokens, and other credentials, editing the published video is not enough if the original value was exposed to anyone or uploaded somewhere unsafe. Rotate or revoke the credential. The OWASP Secrets Management Cheat Sheet treats lifecycle controls such as rotation and revocation as part of secrets management; blur should be one publishing safeguard, not the recovery plan for a leaked secret.
If you are preparing a tutorial, add this checklist to the recording plan before capture. The guide to recording software tutorials on Mac covers demo-state cleanup, permissions, audio tests, and delivery checks. For a sales or launch asset, the product demo workflow shows how to preserve proof while removing irrelevant or private regions.
A repeatable ScreenSage Pro privacy workflow
The reliable way to blur part of a video is a sequence: clean the demo state, make the rough cut, map each exposure, add timed blur ranges, check motion, then review the exported file. That order keeps privacy work attached to a stable timeline and makes every mask testable.
ScreenSage Pro keeps blur regions on the Mask Track with adjustable time ranges, shapes, corner radius, and blur intensity. For the control-by-control instructions, use the Blur & Redaction guide. To apply the workflow to your own footage, download ScreenSage Pro and start with a copy of the source recording.
FAQ
Can a blurred video be unblurred?
Do not treat a mild visual blur as cryptographic redaction. Whether detail can be inferred depends on the source, blur strength, text length, resolution, and what viewers already know. Use an opaque cover or re-record when the consequence of recognition is high, and always keep the unblurred source private.
How strong should the blur be?
Use the lowest radius that still makes the content unreadable at both full size and expected player size, then add a margin. Test short codes and high-contrast text carefully. If you can still infer character count or shapes and that matters, increase the radius, enlarge the mask, or use an opaque cover.
How do I blur a moving object in a video?
Review the full path of the object. Enlarge the mask for small movement, use shorter ranges with repositioned masks after layout changes, or re-record when movement is unpredictable. Do not assume a static region will track an object automatically.
Is it better to blur or crop a screen recording?
Blur when the surrounding interface provides useful context. Crop when the sensitive area stays near an edge and the removed region adds no value. Re-record when private information appears throughout the frame or moves so much that either method becomes fragile.
Auto zoom, cursor smoothing, text cursor follow, and fast export for Mac demos and tutorials.
Download ScreenSage Pro