How to Make a Product Demo Video: A SaaS Workflow
Learn how to make a clear SaaS product demo video: define one outcome, script the proof, record clean UI, guide attention, and export for the destination.
To make a SaaS product demo video, choose one viewer and one result, then record the shortest believable sequence that proves the product can produce that result. Script the problem, action, and visible outcome; prepare a clean demo environment; record editable screen, audio, and camera sources; cut anything that breaks the causal chain; guide attention only where needed; then export a version sized for each channel.
This guide is for software and SaaS demos built primarily from screen recording. A physical-product demo needs a different production plan for cameras, lighting, locations, and hands-on evidence.
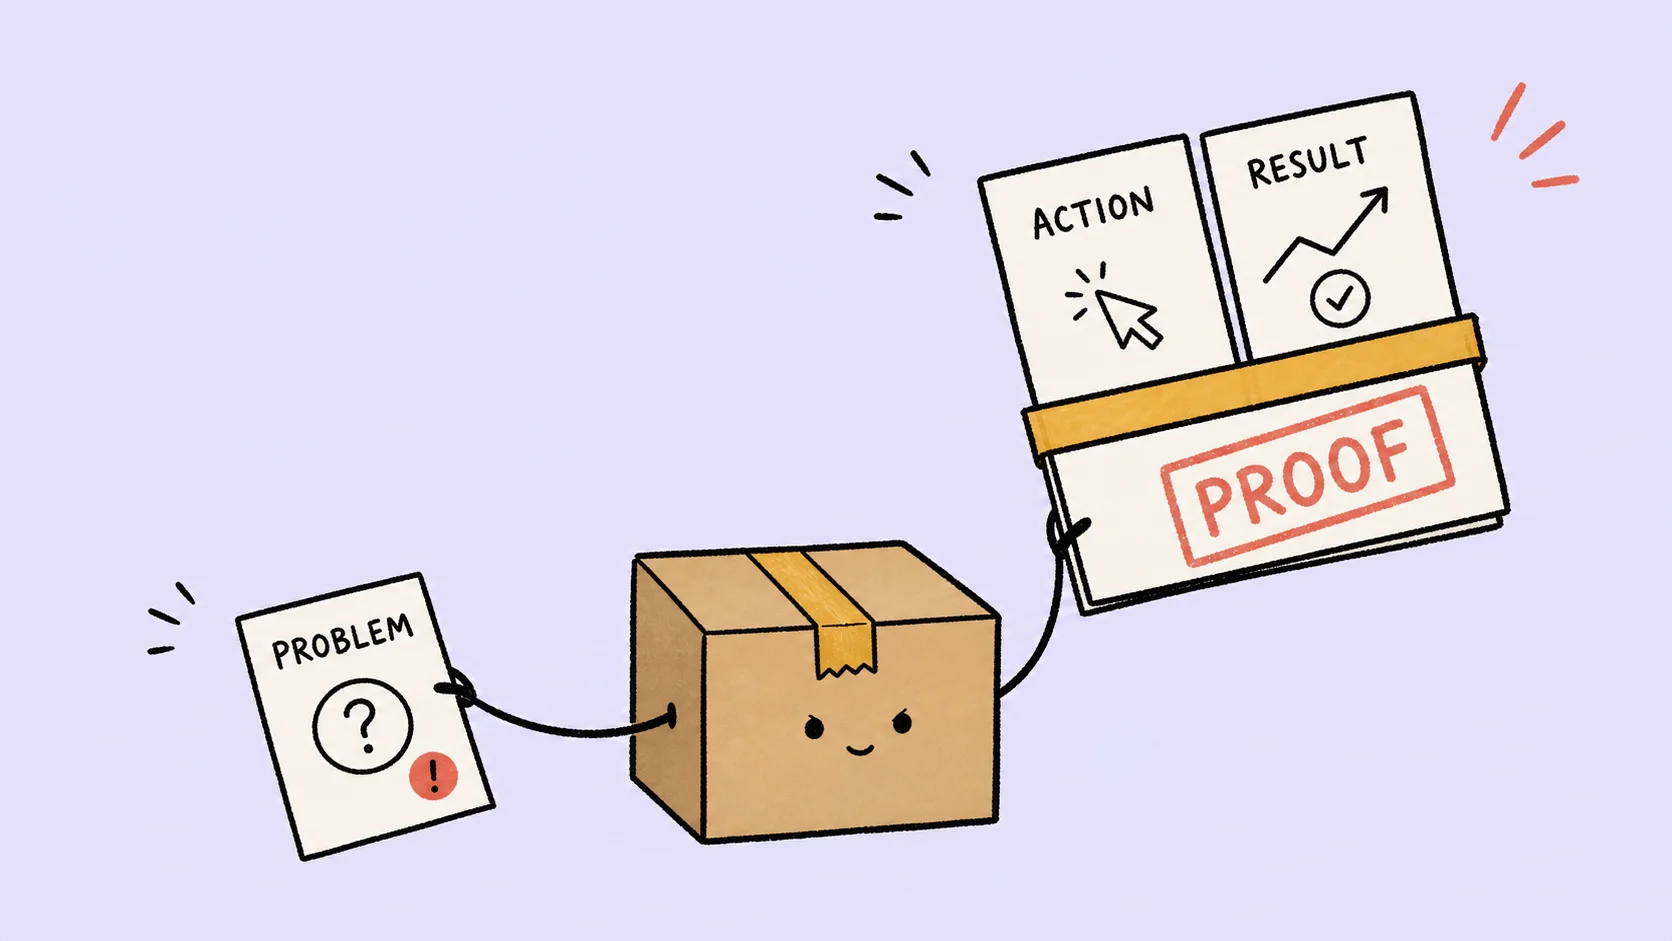
The essential idea is simple: a product demo is proof, not a feature tour. A feature list says what the product contains. A useful demo lets the viewer watch an action change the state of the product and understand why that change matters.
What should a product demo video prove?
A strong demo answers four questions without making the viewer work for them:
- Who is this for?
- What job are they trying to finish?
- What does the product do that changes the situation?
- What visible evidence confirms the result?
For example, “Our app has AI summaries, filters, and export” is a tour. “A support lead turns a 40-message thread into three assigned actions, then exports the summary” is a proof sequence. The features still appear, but they serve a concrete state change.
This also separates a reusable product demo from a live sales demo. A reusable video explains one stable workflow to many viewers. A sales demo can adapt the path, data, and discussion to a specific prospect. Shopify's current guide to product demos makes a similar distinction between a product demonstration and the broader sales conversation around it.
Choose the right demo format before writing
The same recording should not be forced into every channel:
| Format | Best use | What to show |
|---|---|---|
| Short landing-page loop | Fast comprehension | One action and one obvious result; little or no narration. |
| Brief launch or social demo | Interest and sharing | Problem, proof sequence, and one next step. |
| Self-serve product demo | Evaluation | One complete job, with enough context to trust the result. |
| Personalized sales demo | A specific buying decision | The prospect's data, constraints, objections, and next action. |
| Help-center tutorial | Successful use | Every required step, edge case, and recovery path. |
Duration is an output of the job, not the starting goal. A 30-second video that omits the proof is too short; a five-minute video that repeats the same proof is too long.
Step 1: define one viewer, job, and state change
Complete this sentence before opening the recorder:
For [viewer] who needs to [job], this demo shows how [action] changes [before state] into [result].
An example:
For a product manager who needs feedback before planning, this demo shows how importing interview notes changes an unstructured folder into a prioritized list of recurring problems.
If the sentence needs “and” three times, the demo probably contains more than one story. Split it. A viewer can understand a second workflow after believing the first one.
Also decide what counts as evidence. It might be a generated result, a changed status, a completed export, a message delivered, a shorter processing time, or a before-and-after comparison. “The button was clicked” is an action; it is not yet proof.
Step 2: write a proof script, not a feature script
Use this four-part product demo script:
- Problem: Show the starting condition in one sentence or image.
- Action: Perform only the product steps needed to change it.
- Result: Hold on the visible outcome long enough to inspect it.
- Next step: Tell the right viewer what to do next.
A practical voiceover template is:
“When [problem], you need to [job] without [cost or friction]. In [product], start with [input], choose [decisive action], and review [result]. Now [evidence of improvement]. To try it with your own work, [next step].”
Read the script aloud while clicking through the product. If the interface finishes before the sentence, shorten the narration. If the narration finishes while the product is still loading, decide whether the wait builds trust, needs a time compression, or belongs outside the final video.
Write spoken meaning rather than describing every pointer move. “The report is grouped by customer problem” helps the viewer interpret the result. “Now I move over here and click this blue button” usually repeats what the screen already shows.
Step 3: prepare a believable demo environment
The best editing cannot rescue a result that looks fake, unfinished, or private. Before recording:
- Use realistic sample data with names and values a viewer can understand quickly.
- Remove notifications, unrelated tabs, desktop clutter, and personal information.
- Preload slow pages, but preserve a real wait when it is part of the product claim.
- Set the browser or app window large enough for important labels to remain readable.
- Reset the product to the exact before state required by the script.
- Rehearse the path once and confirm the final result actually appears.
- Record a clean backup take after the first successful take.
Avoid a demo account full of “Test 1,” “Untitled,” and lorem ipsum. The viewer uses the data to understand cause and effect. Meaningless data makes a real product feel like a mockup.
Step 4: record for editability
Capture the highest-resolution screen you can reasonably edit, and move the cursor with intention. Pause briefly before a decisive click and hold the result for one or two seconds after it appears. Those small handles give the editor room to cut, zoom, and let the viewer read.
When the demo includes a presenter, keep the screen and camera editable rather than permanently burning the webcam into one corner. When both sources are enabled before capture, ScreenSage Pro records screen and webcam separately, so the layout can switch between screen-only, picture-in-picture, split view, and camera emphasis after recording.
The screen-and-webcam recording guide explains when a presenter helps and how to keep the camera from covering important UI.
Record system audio only when it carries useful evidence, such as a generated sound, meeting participant, or product notification. Record microphone narration on a clean source. A loud click effect or notification should not compete with the sentence explaining the result.
Step 5: cut the demo into a causal sequence
Build the rough cut in this order:
- Keep just enough of the before state to recognize the problem.
- Remove navigation that does not affect the outcome.
- Preserve the decisive input and action.
- Compress waiting unless the real wait is part of the claim.
- Hold on the result and show the evidence.
- End with one relevant next step.
Every surviving shot should either establish the problem, cause the change, or prove the result. A settings tour, second use case, or unrelated integration may be valuable, but it belongs in another demo if it breaks this chain.
Complete the rough cut before building captions, visual effects, or detailed camera layouts. Structural edits made later create avoidable retiming work. The companion guide explains the broader Mac screen-recording editing order.
Step 6: direct attention without burying the product
The viewer should notice the product action before noticing the edit. Use one visual cue for one comprehension problem:
- Auto zoom when a button, field, or result is too small at the delivery size.
- Cursor highlighting or click feedback when the exact interaction is ambiguous.
- A camera layout change when the speaker's explanation matters more than the UI for a moment.
- A restrained 3D move for an opening, reveal, module transition, or final result—not every click.
- A [timed blur mask](/blog/how-to-blur-part-of-video-mac) when private information must remain unreadable; use a crop only when the entire region is irrelevant to the proof.
When interaction recording is enabled before capture, ScreenSage Pro can generate zoom ranges from clicking and typing, then leave those ranges editable on the timeline. The detailed auto zoom and cursor guide explains how zoom, highlight, feedback, and smoothing divide the work.
For a short launch moment, perspective can make a flat capture feel more intentional, but clarity still wins. Use a small camera move to reveal or confirm a result, then let the frame settle.
The separate 3D product-demo workflow covers that narrow visual technique without turning it into the structure of the whole demo.
Step 7: finish narration, captions, and channel exports
After timing is stable, clean the narration and add captions. Correct product names, acronyms, numbers, commands, and interface labels. Place captions where they do not cover the control or result being demonstrated. The automatic caption workflow covers generation, review, and SRT/VTT delivery in detail.
Then make channel-specific exports from the same approved story:
- Website: a sharp 16:9 or component-shaped version with a useful poster frame.
- Social: a tighter 9:16 or 1:1 version that reframes one task region at a time.
- Sales: a version with context that helps a buyer evaluate the workflow.
- Help center: a slower, complete version with searchable captions or an SRT/VTT file.
Do not simply crop the center of a desktop demo for vertical delivery. Reframe each important moment, enlarge text where necessary, and check that captions, cursor, and result all remain inside the smaller safe area.
For most web delivery, MP4 is the practical default. Preserve enough quality for fine UI text, then watch the exported file in the actual player. A demo that looks clear in a full-size editor can become illegible in a landing-page card.
Make the next product update cheaper to record
Software changes. Build the demo so one renamed button does not force a complete production restart:
- Keep the editable project and the reviewed script.
- Record the workflow in short, clean modules with a little extra time at each boundary.
- Keep screen, camera, narration, captions, and music separable when the workflow allows it.
- Avoid spoken directions such as “click the button on the left” when the enduring meaning is “create the report.”
- Save the sample data and reset instructions used to recreate the before state.
When the interface changes, replace the affected action module and recheck the proof sequence. Do not automatically rerecord the opening, narration, and result if they are still accurate.
Product demo video checklist
Before publishing, confirm:
- The intended viewer is obvious in the opening.
- The video proves one job rather than touring every feature.
- The before state and result can be compared.
- Sample data is believable and contains no private information.
- The decisive action is visible and not hidden by the cursor or presenter.
- Waiting is shortened without making the claim misleading.
- The result remains on screen long enough to inspect.
- Zooms, camera changes, captions, and motion do not compete.
- UI text is readable at the final player size.
- The call to action matches the viewer's stage: try, learn, book, or share.
Common product demo mistakes
Starting with company history. The viewer first needs to know whether the video addresses their job. Put background elsewhere unless it changes the decision.
Showing navigation instead of value. Menus prove that the product has pages. Actions and results prove that it does work.
Using every available effect. Visual polish should reduce ambiguity. If an effect makes the viewer look away from the product state, it has failed.
Hiding the real wait. Time compression is acceptable when clearly editorial. Do not imply an instant result when speed is the claim being evaluated.
Recording one irreversible composite. A permanently embedded webcam, cropped screen, or loud mixed audio reduces your options when making shorter and vertical versions.
Ending immediately after the click. The viewer came to see the result. Hold it, explain the evidence, and make the next step clear.
ScreenSage Pro combines screen and camera recording with rough cutting, silence review, editable zoom and cursor treatment, captions, dynamic layouts, masks, 3D emphasis, and channel-specific canvases. To build the proof sequence in one Mac project, download ScreenSage Pro and start with the four-part script above.
FAQ
How long should a SaaS product demo video be?
Long enough to prove one useful result and no longer. A landing-page loop should be much tighter than a self-serve evaluation demo, while a tutorial needs more operational detail than either. Choose the job and channel first, then let the proof determine duration.
What should a product demo video include?
Include a recognizable problem, the minimum product action that changes it, visible evidence of the result, and one appropriate next step. Add narration, captions, webcam, or motion only when they improve understanding or trust.
Do I need a script for a screen-recorded product demo?
Yes, but it can be short. A problem–action–result–next-step outline prevents feature wandering and helps narration match the interface timing. Rehearse it against the real product before recording.
Should a product demo have voiceover or a presenter?
Use voiceover when the interface needs interpretation. Add a presenter when credibility, personality, or a transition in the argument benefits from seeing a person. A silent loop can work when the action and result are self-explanatory and on-screen labels remain readable.
What is the difference between a product demo and a tutorial?
A product demo proves why a workflow is valuable; a tutorial teaches every step required to complete it. One recording can supply both, but the demo usually removes setup and edge cases while the tutorial preserves them.
How do I record a clean SaaS demo?
Prepare realistic sample data, hide notifications and private information, reset the product to a known before state, rehearse once, record at a readable resolution, move the cursor deliberately, and hold the final result before ending the take.
What is the best screen recorder for product demos on Mac?
Choose based on the edit you need. A simple recorder is enough for raw capture. If you need to enlarge small UI after recording, replace the cursor for a consistent pointer style, switch webcam layouts, review silence, add captions, or make multiple aspect ratios, use a recorder-editor that keeps those choices editable.
Auto zoom, cursor smoothing, text cursor follow, and fast export for Mac demos and tutorials.
Download ScreenSage Pro