How to Record Screen and Webcam on Mac for More Trustworthy Product Demos
Learn how to record screen and webcam on Mac, use picture-in-picture, switch layouts, and make product demos feel more human and trustworthy.
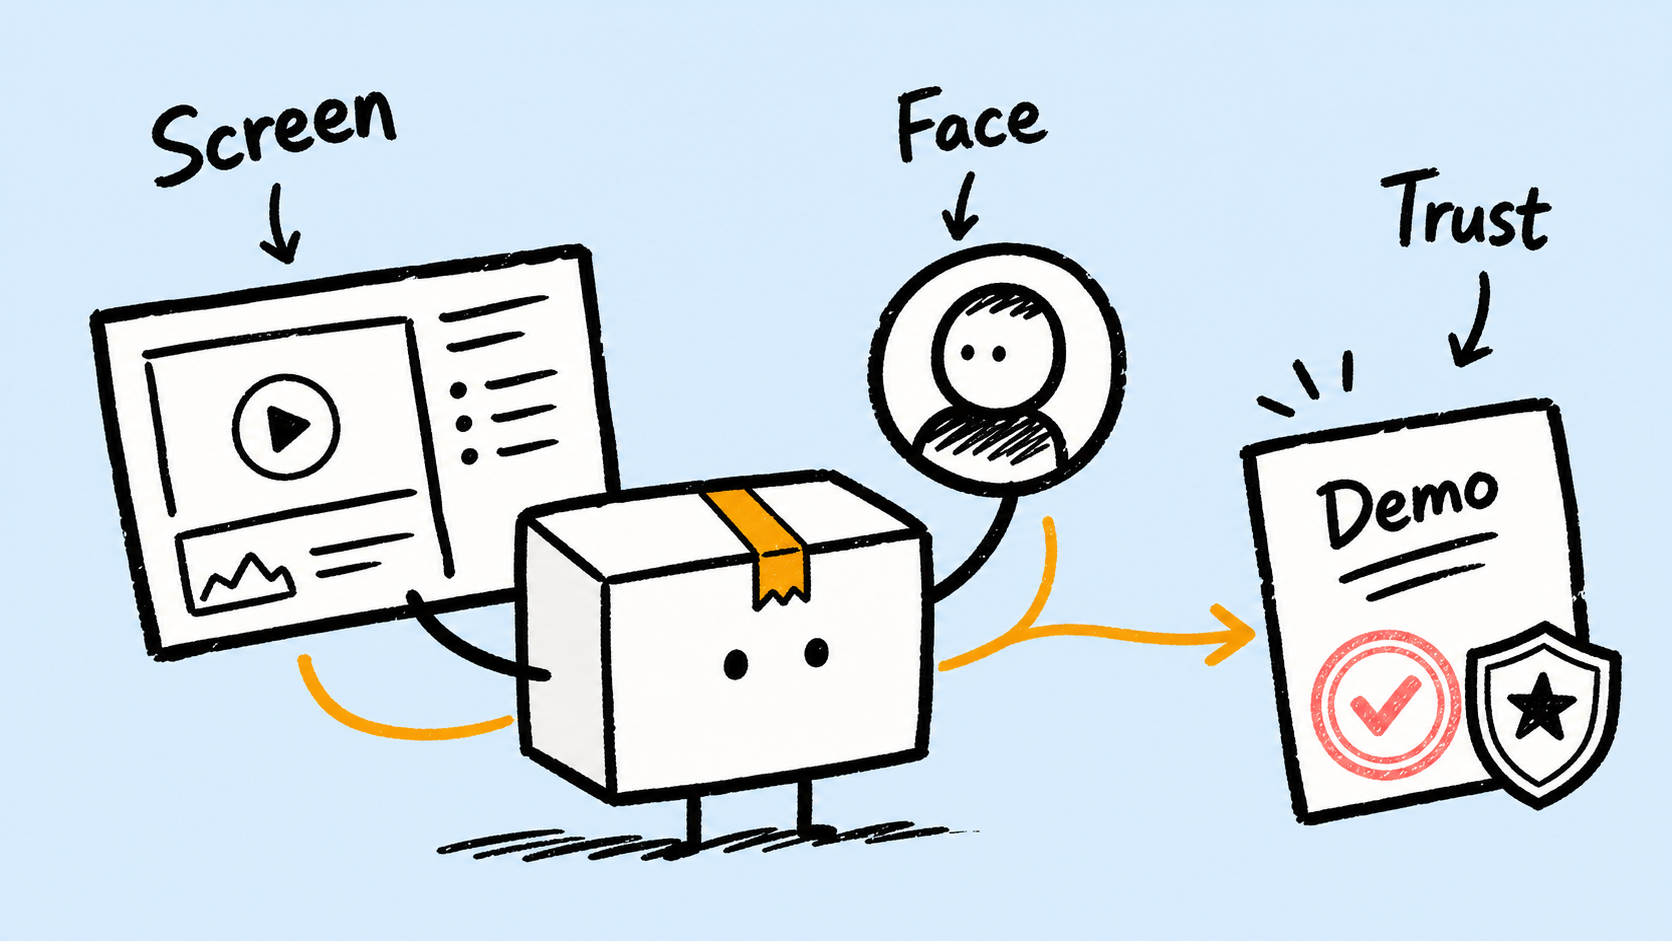
A screen recorder with webcam overlay should make a product demo feel more trustworthy. Viewers are not only watching the interface; they are also reading the presenter’s expression, tone, and judgment. For Mac product demos, picture-in-picture is the natural default because it keeps the screen primary while preserving human presence. A stronger workflow lets you record once, then choose picture-in-picture, split screen, full-camera moments, or screen-only moments by section.
ScreenSage Pro treats the camera as an editable track. You can record the screen and webcam together, then decide after recording how the camera should appear. That matters because the important part of a product demo changes from moment to moment: sometimes the viewer needs your face to build trust, and sometimes they need the screen to carry the full explanation.
What do you need before recording screen and webcam on Mac?
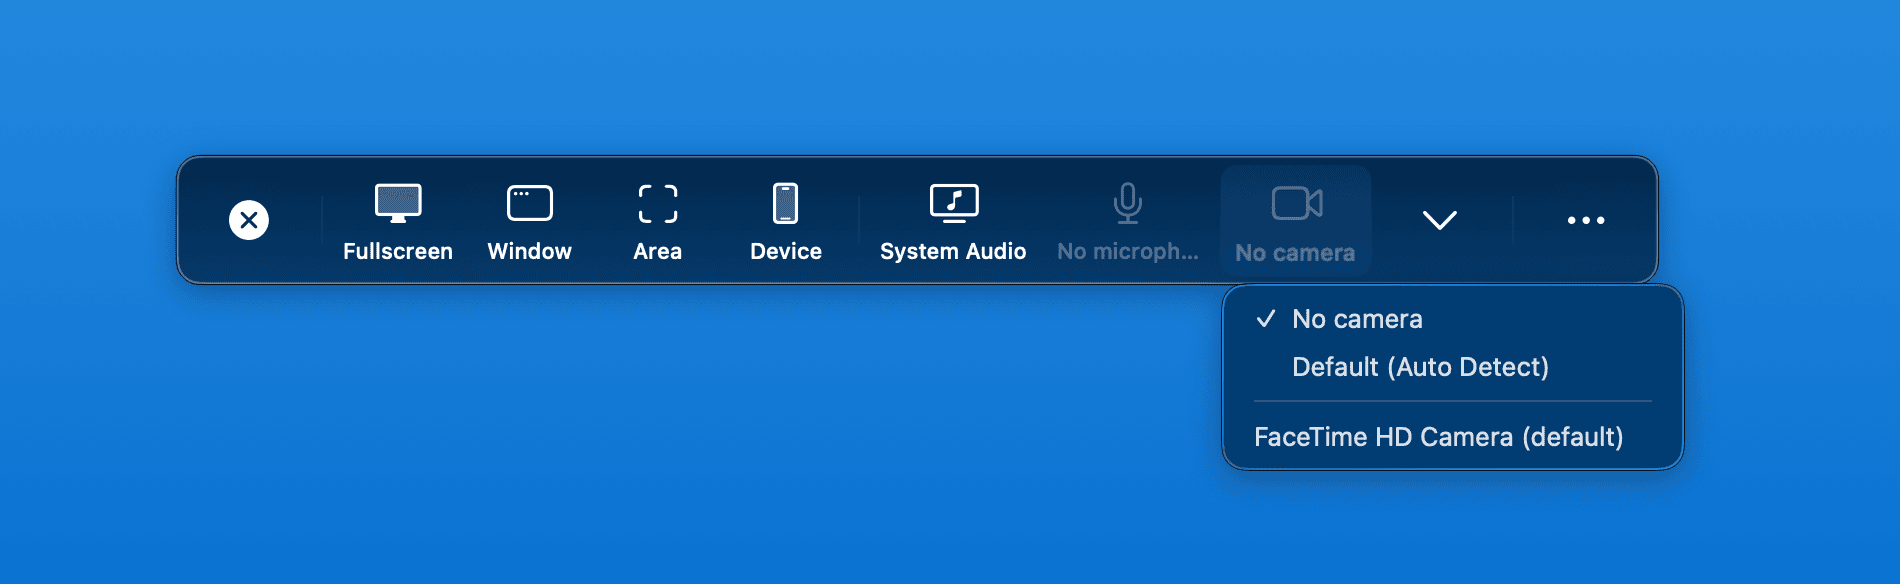
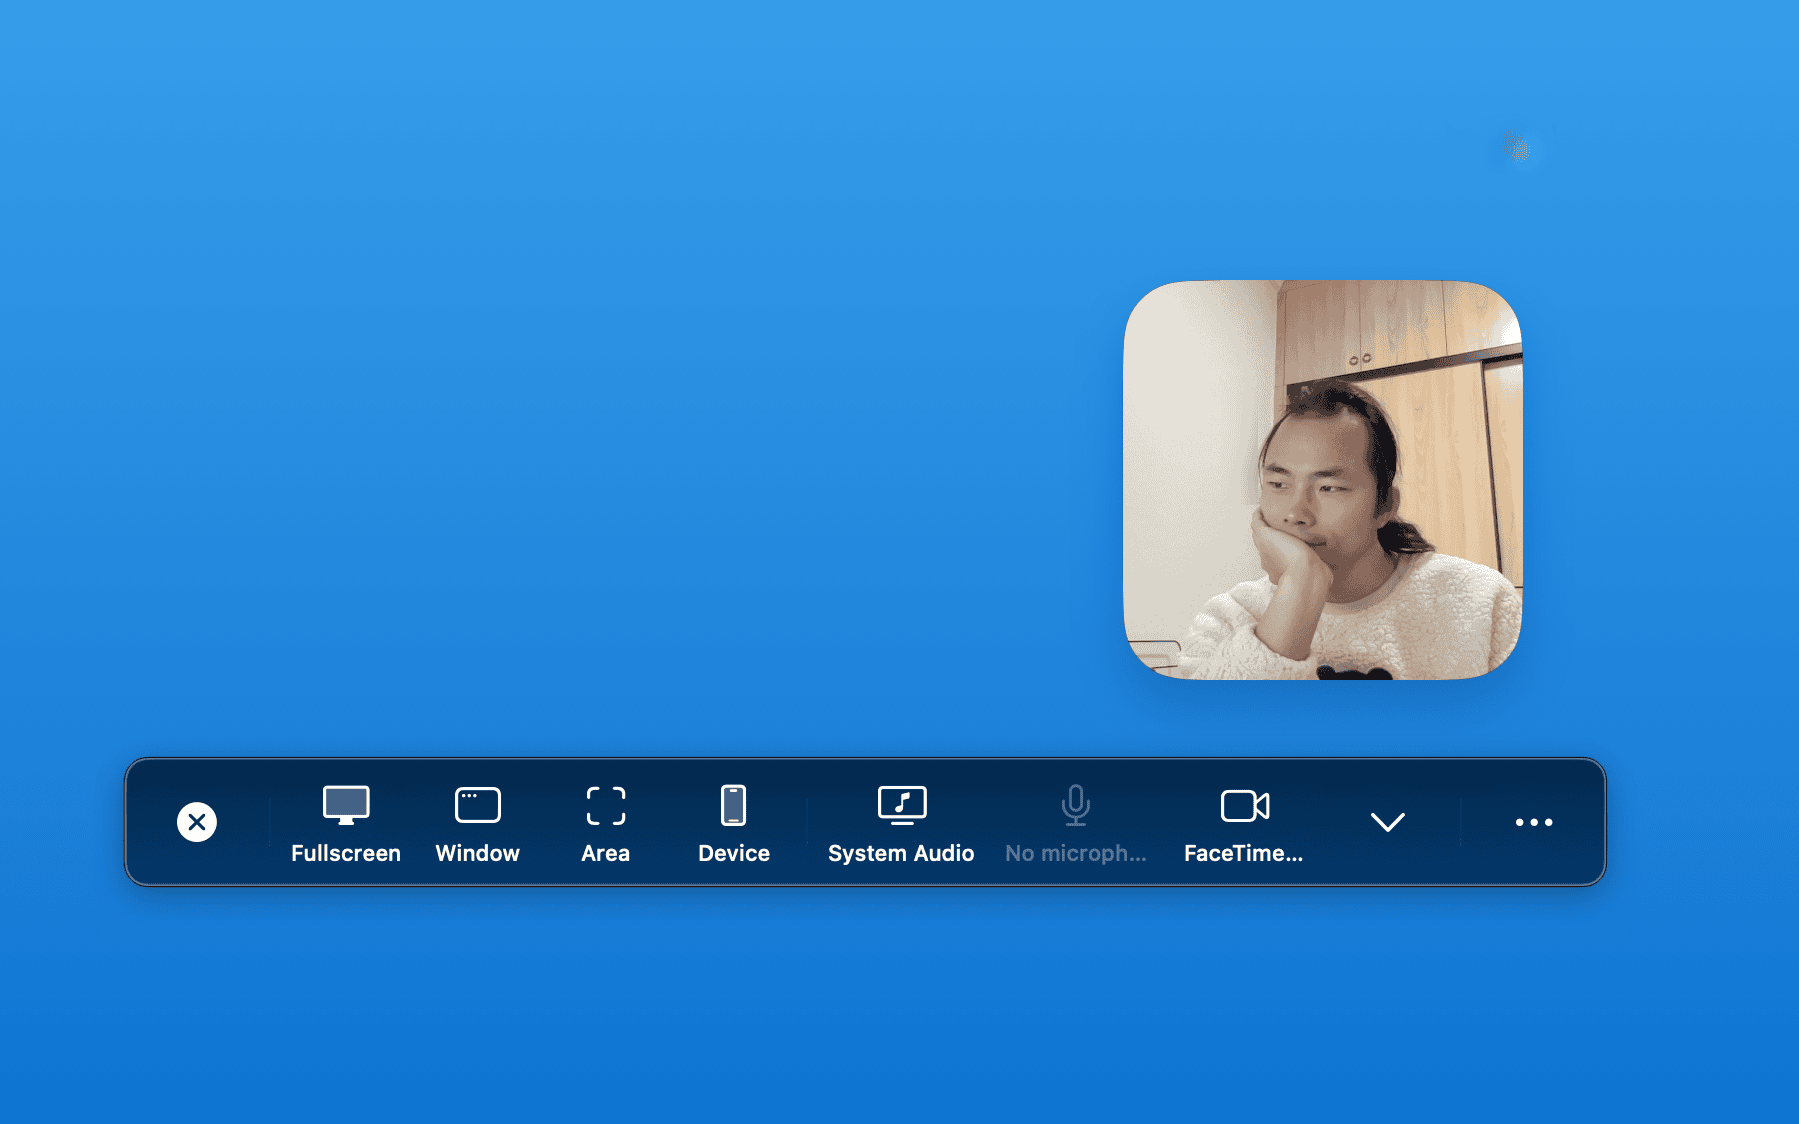
You need three things: screen recording permission, camera permission, and a workflow that keeps the webcam layer editable. Apple’s Mac User Guide explains that apps and websites can be managed under Screen & System Audio Recording, while camera access is controlled separately in Camera privacy settings.
Permissions only get the recording started. The bigger production question is whether your webcam is burned into the capture or kept as a layer you can adjust later. When the camera remains editable, picture-in-picture is not just a fixed corner window. It becomes a presentation layer you can resize, move, or switch as the story changes.
In ScreenSage Pro, after you select a camera in the recording panel, a preview appears. The preview confirms the camera source, but the camera is composited in post-production instead of being permanently baked into the screen capture. You can change shape, size, border, and layout after recording.
Why webcam overlay makes product demos more trustworthy
A product demo is not just a click recording. Viewers are also deciding whether the presenter understands the product, whether the workflow feels reliable, and whether the feature is worth their time. A webcam overlay adds the human signal that plain screen capture often lacks.
Picture-in-picture is the most common answer because it keeps the screen as the main subject while adding presence. The better question is not whether picture-in-picture is good. It is what role the camera should play in each section:
- Use picture-in-picture when you want steady presenter presence.
- Use full camera for openings, conclusions, and opinion-heavy moments.
- Use split screen when the presenter and screen reaction both matter.
- Use screen-only when dense interface detail needs full attention.
That is why post-recording layout control matters more than choosing one layout before you record. You are not fixing a flaw in picture-in-picture; you are choosing the right presentation mode for each part of the demo.
Which webcam layout should you use?
ScreenSage Pro includes four common Vlog-style layouts: picture-in-picture, split screen, full camera, and full screen. These are not just visual presets. They are storytelling tools.
Picture-in-picture: standard product demos
Picture-in-picture works well for SaaS walkthroughs, feature tours, and customer support tutorials. The screen stays primary while your face adds tone, trust, and presence.
The main rule is to preserve steady presence while keeping the interface clear. Place the camera where it supports the walkthrough, leaves room for buttons, menus, code, and captions, and feels intentional instead of decorative.
Split screen: when both face and screen matter
Split screen works for courses, review videos, design feedback, interviews, and segments where the presenter’s judgment matters as much as the interface.
The tradeoff is screen readability. Split screen reduces the available space for the app, so it is a poor default for IDEs, spreadsheets, admin dashboards, and settings pages. Use it deliberately, not continuously.
Full camera: openings, closings, and strong points
Full camera is useful for intros, conclusions, transitions, and moments where you want the viewer to focus on the speaker. It is a good fit for “here is the problem we are solving” or “this setting changes the result because...”
Avoid full camera when the viewer needs to read the interface. As soon as menus, buttons, or code matter, return to a screen-first layout.
Full screen: dense UI and critical steps
Full screen is best for complex interfaces, code, terminal commands, tables, and settings panels. In these moments, the camera is optional because the viewer needs detail more than presence.
If hiding the camera makes the video feel too impersonal, switch back to picture-in-picture or full camera before or after the critical step. Do not sacrifice readability during the step itself.
The practical workflow: switch layouts after recording
For product demos, the strongest workflow is to record naturally first, then switch webcam layouts by section on the timeline. This lets you make layout decisions based on what actually happened in the recording.
ScreenSage Pro lets you add layout blocks on the timeline and choose a layout type in the properties panel. When you add layout changes, the camera and screen transition smoothly without manual keyframe animation.
A practical workflow looks like this:
- Record the full workflow without stopping to manage camera placement.
- Review the video and mark sections that need trust, explanation, or full screen focus.
- Use full camera or picture-in-picture for the opening so the viewer knows who is guiding them.
- Switch to full screen for click-heavy, text-heavy, or code-heavy sections.
- Use picture-in-picture, split screen, or full camera when you explain a decision or summarize a result.
- Check whether each layout change strengthens the explanation rather than merely adding motion.
- Rewatch at the final viewing size to confirm the UI and camera are both readable.
Webcam styling is a readability decision
Camera borders, corner radius, shape, shadow, and background removal may look like cosmetic details, but they affect readability. A borderless camera can blend into the app UI. A messy room background can pull attention away from the product.
ScreenSage Pro supports camera shape, corner radius, borders, shadows, and AI background removal. For product demos, prioritize them this way:
- Use background removal when your room is distracting or private.
- Add a border or shadow when the screen content is visually busy.
- Use a rounded rectangle for stable tutorial-style videos.
- Increase camera size only when the presenter’s expression is important.
Do less decoration and more separation. The camera should read as a clear layer above the interface without stealing the video from the product.
When should you turn the webcam off?
Not every screen recording needs a webcam. The camera’s job is to add trust, explanation, and rhythm. When it is not doing those jobs, hiding it can make the demo clearer.
Turn the webcam off when:
- The viewer needs to copy code or commands.
- The screen contains dense tables, settings, logs, or small text.
- You are showing a mobile preview, chart, design file, or detailed UI state.
- The camera is not adding explanation and is only occupying space.
- The section is mechanical and does not need presenter emotion or judgment.
The webcam should not become a permanent watermark. It should appear when the video benefits from a person’s presence, then step back when the screen detail matters more.
Buyer checklist for a Mac screen recorder with webcam overlay
If you are choosing a webcam screen recorder for Mac, look for:
- Screen, microphone, and webcam recording.
- A webcam layer that remains editable after recording.
- Picture-in-picture, split screen, full camera, and full screen layouts.
- Timeline-based layout switching by section.
- Automatic transitions between layout changes.
- Camera shape, border, shadow, and background removal controls.
- Final-size preview checks for UI readability.
- A workflow that does not force every layout decision before recording.
This checklist is more useful than asking whether a tool has “webcam overlay.” The real production question is whether the webcam can serve the pacing and trust-building of the demo.
FAQ
Can the built-in Mac screen recorder record webcam overlay?
macOS includes screen recording tools and lets you choose a microphone and show pointer-related options. But if you need webcam picture-in-picture, post-recording layout switches, camera borders, background removal, and product-demo-level composition control, you usually need a dedicated recording and editing tool.
Where should I place the webcam overlay?
There is no fixed best corner. First avoid the important UI in that section, then think about visual balance. For product demos, webcam placement should follow the content: where the buttons, captions, menus, and viewer attention are going.
Do product demos always need a face camera?
No. A face camera can build trust and make the demo feel more human, but screen-only sections are often clearer for code, tables, dashboards, settings pages, and other dense interfaces. Use the camera by section instead of keeping it visible for the entire video.
Conclusion
Recording screen and webcam on Mac is not just about capturing both sources. The real goal is to use the webcam to add trust, explanation, and rhythm to the product demo. Picture-in-picture is a strong default; post-recording layout switches, camera styling, and readability checks turn it from a fixed corner window into a presentation layer that serves the content.
If you are making product demos, tutorials, or launch videos, ScreenSage Pro lets you record screen and webcam naturally, then switch between picture-in-picture, split screen, full camera, and full screen on the timeline. To try the workflow, start from the ScreenSage Pro download page.
Auto zoom, cursor smoothing, text cursor follow, and fast export for Mac demos and tutorials.
Download ScreenSage Pro