Screen Recorder for Tutorials on Mac: What Actually Matters
Choose a Mac screen recorder for tutorials by what stays editable: audio sources, cursor actions, zoom, webcam, captions, and delivery format.
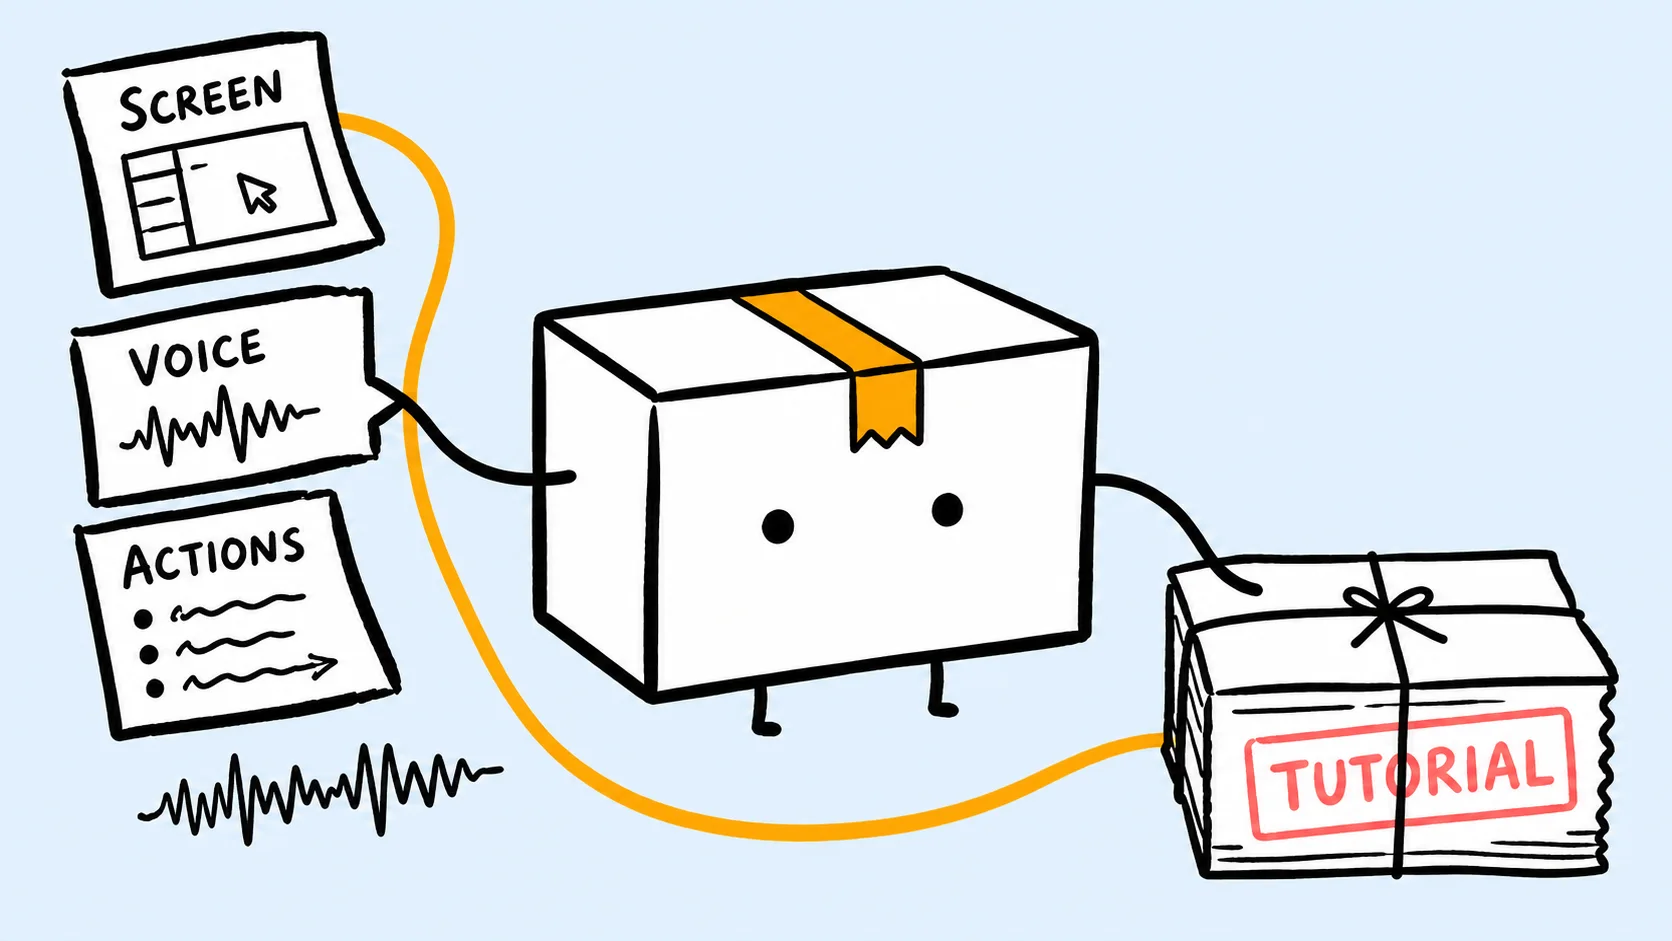
The best screen recorder for tutorials on Mac should preserve more than pixels. It should keep narration, system audio, cursor actions, camera, zooms, and captions editable, so one mistake does not force another full take. QuickTime is enough for a short show-and-tell. A recurring tutorial workflow needs a recorder that also understands the edit.
That distinction matters more than a long feature list. Most tutorial rework comes from information being flattened too early: the microphone and app audio become one track, the webcam is burned into a corner, or cursor movement survives only as pixels. Once that happens, a small correction becomes a recording problem instead of an editing decision.
What should a screen recorder for tutorials do?
A tutorial recorder should capture the screen, voice, system audio, and interaction data as separate inputs; let you remove mistakes before adding timed effects; and keep zoom, cursor, camera, captions, and canvas choices editable until export. That combination reduces re-recording and makes one source recording easier to adapt for different destinations.
Choose by the tutorial you are making
| Your tutorial | Minimum sensible setup | What becomes important next |
|---|---|---|
| A one-off, under-one-minute instruction | macOS Screenshot or QuickTime Player plus a microphone | A clean take and a simple trim may be enough. |
| A polished software walkthrough | Screen, microphone, system audio, and an editable timeline | Cursor guidance, zooms, rough-cut tools, and captions save revision time. |
| A course, onboarding library, or recurring product series | A repeatable recording preset and editable interaction data | Consistent framing, camera layouts, caption files, and reusable export settings matter across every episode. |
Apple's built-in tools can record the full screen or a selected area and optionally include a microphone and visible clicks. That makes them a good baseline, not a bad choice. The question is whether the raw movie still contains everything your later edit will need. Apple explains the available capture controls in its Mac screen-recording guide.
1. Keep screen, voice, and system audio separable
A tutorial may need three different sound decisions:
- Your narration should remain clear and consistent.
- The app's sound should be audible without covering your voice.
- A notification, mistake, or private conversation may need to be muted without silencing everything else.
If microphone and system audio are fused into one track, those decisions become much harder. Look for a recorder that captures them separately and shows enough waveform detail to cut around spoken words.
System audio is optional for a silent interface tour, but essential when the sound is part of the lesson: music software, meeting apps, media playback, accessibility feedback, games, or audio settings. If you are unsure how macOS routes these sources, the Mac system-audio recording guide explains the difference between microphone and app sound.
2. Capture actions, not only pixels
The screen image tells an editor where the pointer appeared. Interaction data can tell it where the pointer moved, when a click happened, which key was pressed, and where text was being entered.
That extra data is what makes useful post-recording changes possible. A tutorial editor can replace an inconsistent pointer with one readable style, smooth a nervous cursor path, show a click only when it clarifies an action, or follow the text insertion point through code and forms. Without the underlying events, these fixes require manual animation or a new take.
On macOS, interaction capture may depend on Accessibility permission. Test a ten-second sample before recording a long lesson: click, type, move between two interface regions, then confirm that the editor received each event. A permission problem discovered after a 30-minute take is expensive.
3. Make attention cues editable after recording
A good tutorial does not enlarge everything. It changes emphasis just before the viewer needs help: a small preference, a menu item, a typed value, or the state that proves the step worked.
Automatic zoom can create a strong first pass when it is driven by recorded actions, but each zoom still needs to be movable, resizable, or removable. The goal is to guide attention without making the frame chase every click.
Treat cursor, click feedback, keystrokes, and zoom as different tools. A visible pointer answers “where?”; a click indicator answers “when?”; a keystroke label answers “what input?”; a zoom answers “which region matters?” Use only the cue the viewer is missing. The auto zoom and cursor guide goes deeper into that division of labor.
4. Finish the rough cut before timed layers
Tutorial editing has a dependency order. Cuts change time; captions, zooms, webcam layouts, and callouts depend on time. Stabilize the first before polishing the second.
Start by removing false starts, wrong clicks, searches for files, and waiting that teaches nothing. Silence detection can accelerate narrated tutorials, provided you can tune the threshold, minimum pause, and breathing room rather than deleting every quiet moment.
Watch the rough cut once from beginning to end before adding polish. If the explanation works as plain video and audio, later effects can stay sparse. For the complete dependency order, use the Mac screen-recording editing workflow.
5. Keep the webcam and layout flexible
A baked-in webcam is fast until it covers the menu you need, the destination changes from 16:9 to vertical, or a section no longer needs the presenter. Separate screen and camera sources let the layout follow the lesson.
Use the presenter when expression, trust, or a transition benefits from a human face. Give the screen more room when the viewer must read small UI. For some moments, a picture-in-picture layout works; for an introduction or conclusion, a side-by-side or camera-focused layout may work better.
If your tutorials regularly use a presenter, compare camera placement, background treatment, and layout timing in the webcam-overlay recording guide.
6. Add captions after the timing is stable
Captions help viewers who cannot hear the audio, are watching in a noisy or quiet environment, or need support understanding an accent or specialist term. For prerecorded video with meaningful audio, captions are also part of established accessibility guidance; the W3C explains the requirement in Understanding Success Criterion 1.2.2.
Generate them after the rough cut. Then review product names, commands, numbers, and interface labels, and make sure the text does not cover the action it describes. Keep SRT or VTT files when the destination supports selectable subtitles or you expect future translation.
7. Design the recording for its destination
Decide the delivery format before recording, even though you will export at the end.
- 16:9 is the safest starting point for YouTube, course platforms, product docs, and presentations.
- 9:16 needs a narrower task area, larger visible UI, and a composition that does not rely on the full desktop.
- Small support embeds need faster setup and larger detail than a full-screen course player.
- Reusable lessons benefit from keeping a high-quality master plus separate caption files.
YouTube recommends MP4, H.264 video, and the same frame rate used during capture, among other encoding guidance. Check the current YouTube upload recommendations when that is your destination. Whatever the platform, watch the exported file at the actual player size. Thin UI text that looks sharp in an editor can become unreadable after scaling and compression.
A repeatable tutorial-recording workflow on Mac
Use this sequence to reduce both recording and editing debt:
Privacy belongs in this preflight, not only at export. If a customer name, email address, key, or private message survives the clean-up, cover only the necessary time and region with a timed blur mask, then replay the range to check any scrolling or window movement.
- Define one viewer outcome and the final destination.
- Close notifications and prepare a clean demo state.
- Test screen, microphone, system audio, camera, and interaction permissions for ten seconds.
- Record the lesson in logical sections, leaving a short pause around mistakes.
- Build a complete rough cut and repair audio balance.
- Set the canvas, then compose the screen and optional webcam.
- Add only the cursor, zoom, and keystroke cues needed to follow the action.
- Generate and review captions after timing is stable.
- Export, then watch with headphones and in a realistically sized player.
ScreenSage Pro records screen, microphone, system audio, webcam, and interaction events, then keeps cuts, zooms, cursor styling, layouts, keystrokes, masks, and captions editable on the timeline. If that matches your tutorial workflow, download ScreenSage Pro for Mac and begin with the ten-second test above.
FAQ
What is the best screen recorder for tutorials on Mac?
For a short, disposable instruction, macOS Screenshot or QuickTime may be enough. For polished or recurring software tutorials, choose a recorder that separates audio sources and preserves cursor actions, camera, zooms, captions, and layout as editable elements. The best option is the smallest one that protects the revisions you are likely to make.
Is QuickTime good enough for tutorial videos?
Yes, when you can record a clean take and only need a basic trim. It becomes limiting when you need separate system audio control, several cuts, cursor cleanup, post-recording zoom, editable webcam layouts, or caption production.
Do software tutorials need system audio?
Only when app sound carries information the viewer needs. Record it for music, video, meetings, notifications you intentionally demonstrate, games, or sound settings. Skip it for a silent visual workflow if narration explains everything.
Should the webcam be recorded into the screen video?
Keeping camera and screen separate is safer. You can move, resize, hide, or restyle the presenter later and adapt the same recording to another aspect ratio. Baking it in is reasonable only when speed matters more than revision flexibility.
When should I add captions to a tutorial?
After the rough cut and audio timing are stable. Generating captions earlier means structural edits can create avoidable timing and wording checks. Always review names, commands, numbers, and placement before publishing.
Is automatic zoom enough to make a tutorial clear?
No. It can produce a useful first pass, but clarity also depends on narration, pacing, cursor behavior, readable framing, and showing the result of each step. Keep zoom ranges editable and remove any movement that does not help the viewer.
Auto zoom, cursor smoothing, text cursor follow, and fast export for Mac demos and tutorials.
Download ScreenSage Pro